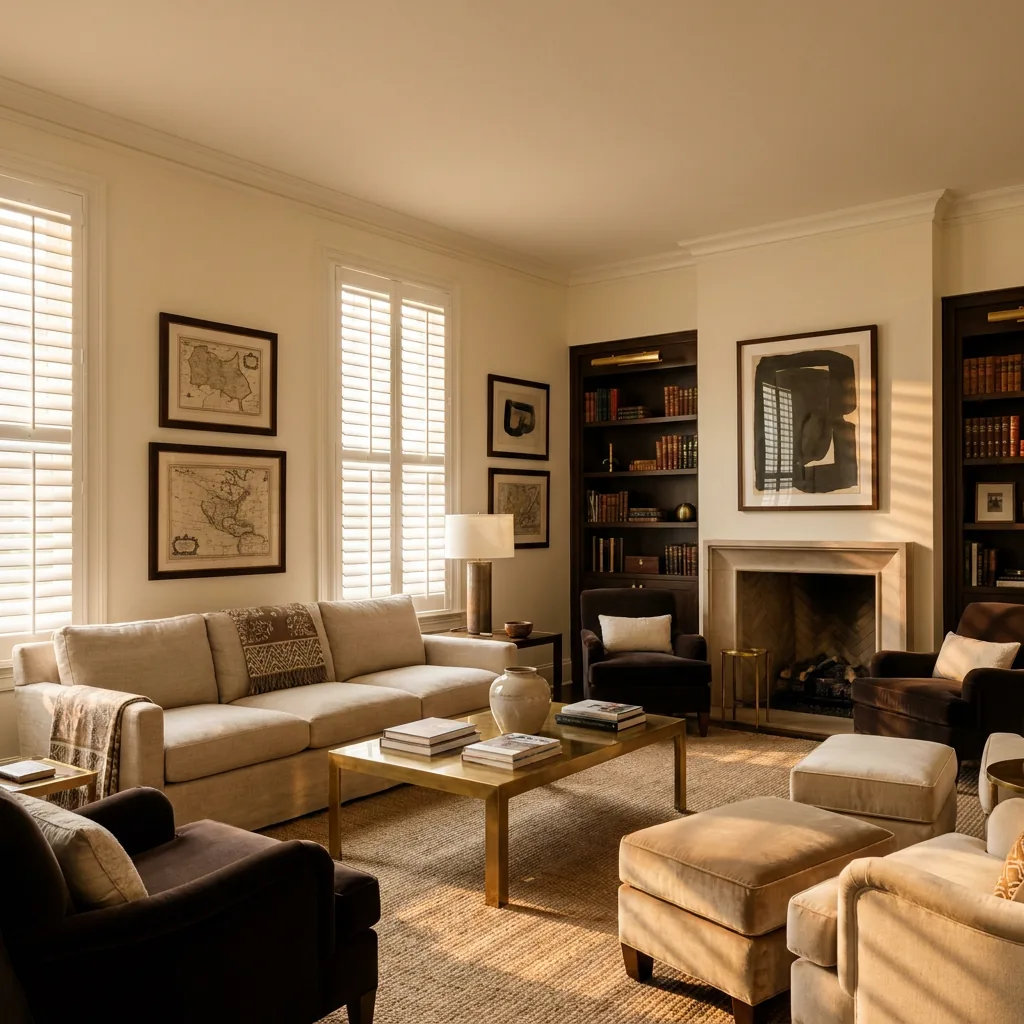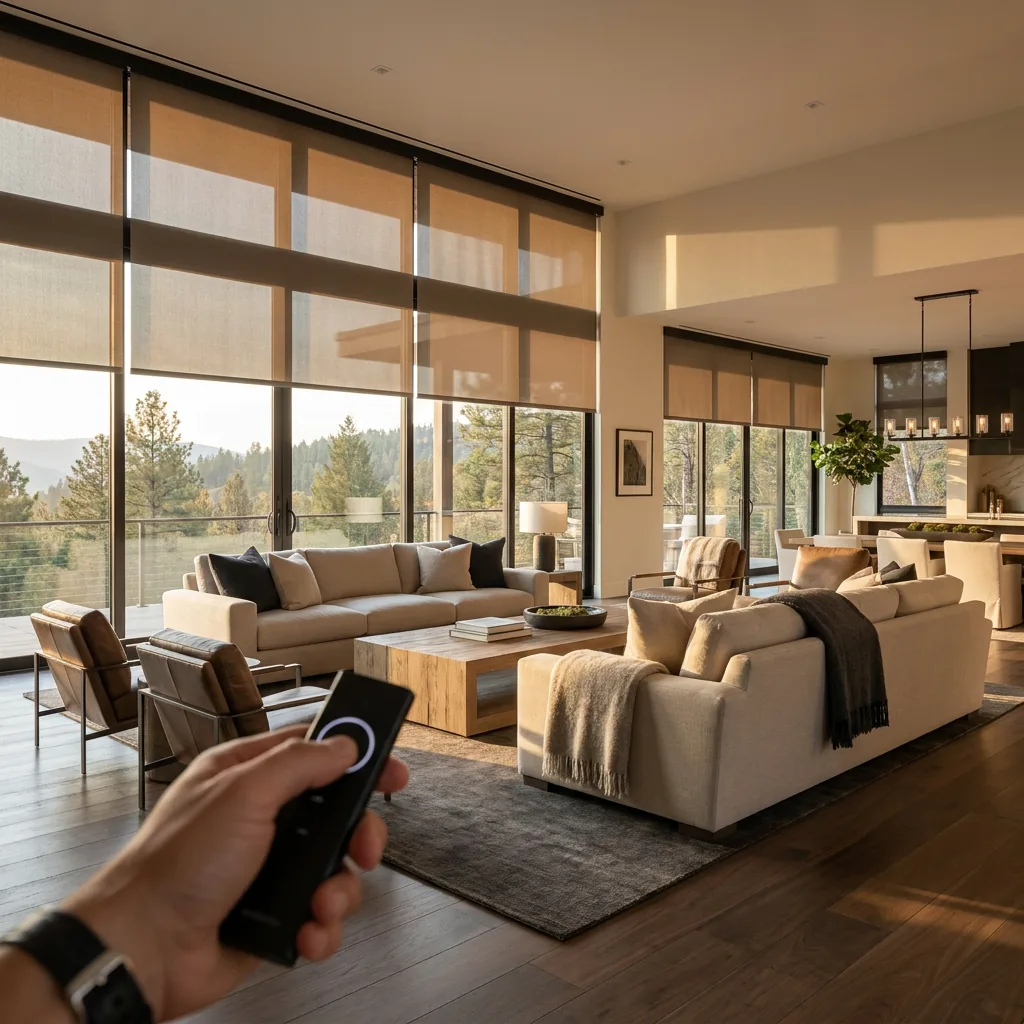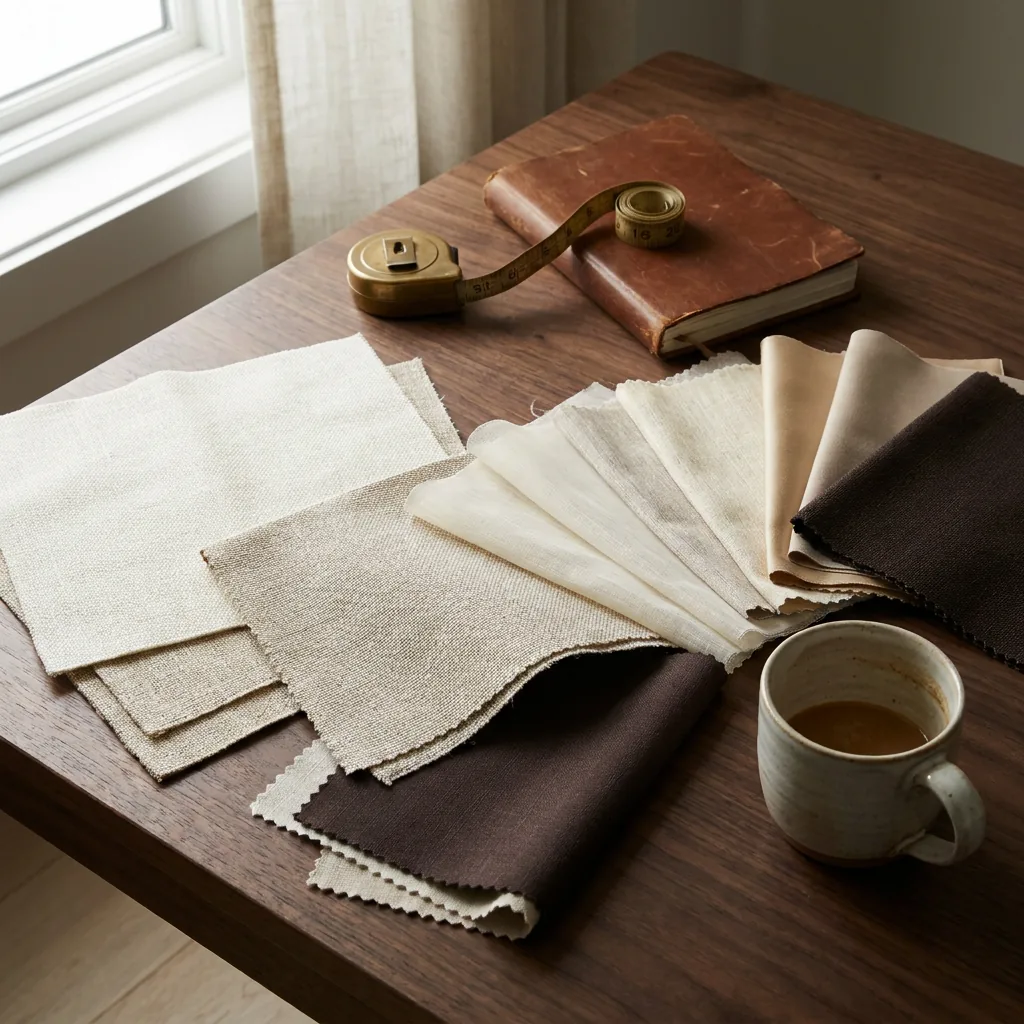
If you are buying custom blinds, shutters, or shades online — or just want to double-check the dimensions before our install crew arrives — there is one thing that matters more than any other: your measurements have to be right. Custom treatments are non-returnable, manufactured to your numbers, and a half-inch off can turn a $400 shade into a $400 mistake. Here is the same three-point method we use on every install.
What you'll need
- A steel tape measure — never a fabric tape, never a yardstick. Fabric stretches, wood deflects, and both cost you a quarter inch.
- A pencil and a sheet of paper, or a phone notes app.
- A small level if you have one. Helpful, not required.
- 10 minutes per window. Less, once you've done two or three.
Step one — decide inside-mount or outside-mount
Before you measure anything, decide where the blind is going to live.
Inside-mount
Sits inside the window casing, recessed into the opening. Looks cleaner, shows the trim, and is the more architectural choice. Requires at least 2 inches of depth from the glass to the inside edge of the casing — measure this before you decide. Plantation shutters typically need 3 inches.
Outside-mount
Sits on the wall outside the casing, covering the casing and the wall around it. Blocks more light (good for bedrooms), works on shallow windows that won't take an inside-mount, and is the right choice when the casing isn't worth showing.
Step two — width, in three places
Now the measure itself. Width is always first in the industry standard (width × height). Measure across the opening in three places: at the top, the middle, and the bottom.
What you do with the three numbers depends on the mount type:
- Inside-mount. Write down the smallest of the three. The manufacturer will subtract a small "deduction" (usually 1/4 to 3/8 inch) for clearance — you don't need to deduct it yourself. Just give them the smallest measurement, exactly as measured.
- Outside-mount. Measure the casing's outside width, then decide how far past the casing you want the shade to extend — usually 2 inches per side. That total is your width.
Why three measurements
No window is perfectly square. In older Tennessee homes — anything before 1995 — we routinely find 1/4 to 1/2 inch of variation between top and bottom widths. A shade made to the largest measurement won't fit; a shade made to the smallest will. Always write down the smallest.
Step three — height, in three places
Same drill, vertically. Measure left, center, and right.
- Inside-mount. Write down the longest of the three measurements. (You want the shade to reach the sill on every side; if you measured the shortest, you'd have a gap on the long side.) Don't deduct anything — the manufacturer handles it.
- Outside-mount. Decide where you want the top of the shade to sit (usually 3 inches above the casing) and where the bottom should land (usually the sill, the floor, or "to the bottom of the casing"). Measure that distance.
Step four — depth and obstructions
For inside-mount, measure the depth of the casing from the glass to the inside edge. This is where you find out whether your favorite shade actually fits.
While you're in there, look for:
- Crank handles on casement windows — common in newer construction. A shade mounted inside has to clear the handle. Some shades won't.
- Window locks on the sash.
- Alarm sensors stuck to the frame.
- Trim returns that stick into the opening (most common on craftsman casings).
Photograph anything unusual. We do this on every site visit.
Step five — label everything
Write down the room and the wall direction next to each window: Primary bedroom — south. Kitchen — east. Living room — west bay. When the order ships and the install crew arrives with twenty shades in one box, this is what saves you from the wrong shade going in the wrong room.
Width before height. Smallest width. Longest height. Three measurements each. Always.
Special cases
French doors
Measure the glass area only — not the door itself. Most French-door shades (cellular or roller "doorlite" mounts) attach directly to the glass with magnets or to the wood inset around it. Measure from the inside edge of the inset to the opposite inside edge. Be sure to note whether the door swings in or out — handles matter.
Sliding glass doors
Outside-mount, every time. Measure the total opening (including the wall around the door), then add 4 inches on each side and 3 inches above for stack clearance. Vertical blinds, panel tracks, and large rollers all use this same dimensioning.
Bay windows
Each window in the bay is a separate inside-mount measurement. Treat them as three (or five) individual windows, not one continuous treatment.
Arched and shaped windows
Cardboard template. Don't try to measure an arch with a tape — trace the curve onto a piece of cardboard, cut it out, label the orientation (which side faces the room), and ship it to us. We do this for every specialty shape and it's the only method that consistently fits the first time.
Common mistakes we re-measure after
- One measurement instead of three. The single most common DIY mistake. The window is never square. Always three.
- Listing height first. Industry is always width × height. Reversing them costs you a full re-order.
- Deducting yourself. Manufacturers deduct for clearance — if you also deduct, you'll get a shade that's a full inch too narrow.
- Forgetting to check depth. A shutter ordered for a 1.5-inch opening will not fit, period.
- Not photographing the room. Hours of frustration on install day saved by ten seconds of photos at measure.
Or — let us measure
Honest pitch: we measure every window on every project, free, as part of the consultation. We do this for a living, we use laser measures in addition to tape, and we are accountable for the fit. If anything goes wrong, the re-order is on us, not you.
If you'd like a measure across Gallatin, Nashville, Hendersonville, Franklin, Brentwood, Murfreesboro, or anywhere inside the 90-mile radius around our showroom, call or text 629-298-8241 or book a free in-home consultation.